How to install the Yealink Desktop Software for your WH62 Yealink headset
How to Set Up Your Yealink WH62 Headset, Install Yealink Desktop Software, and Upgrade Firmware
Step 1: Plug in the Yealink WH62 Headset to Your Computer
- Unbox the Headset: Remove the Yealink WH62 headset and base station from the packaging.
- Connect the Base Station:
- Plug the base station into a power source using the provided power adapter.
- Connect the base station to your computer using the included USB cable.
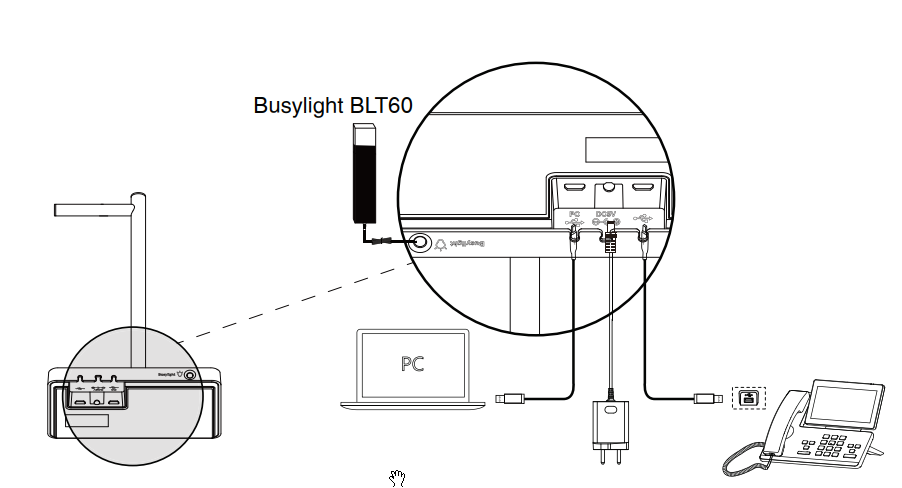
- Turn on the Headset: Press the multifunction button on the headset for 2 seconds to turn it on.
- Pair the Headset with the Base: Place the headset on the base station. The LED indicator will turn solid blue once paired.
Step 2: Install the Yealink Desktop Software
- Download the Software:
- Install the Software:
- Open the downloaded file and follow the on-screen instructions to install the software on your computer.
- Launch the Software: Once installed, open the Yealink USB Connect software.
Step 3: Upgrade the Firmware
- Connect the Headset: Ensure your Yealink WH62 headset is connected to your computer via the base station.
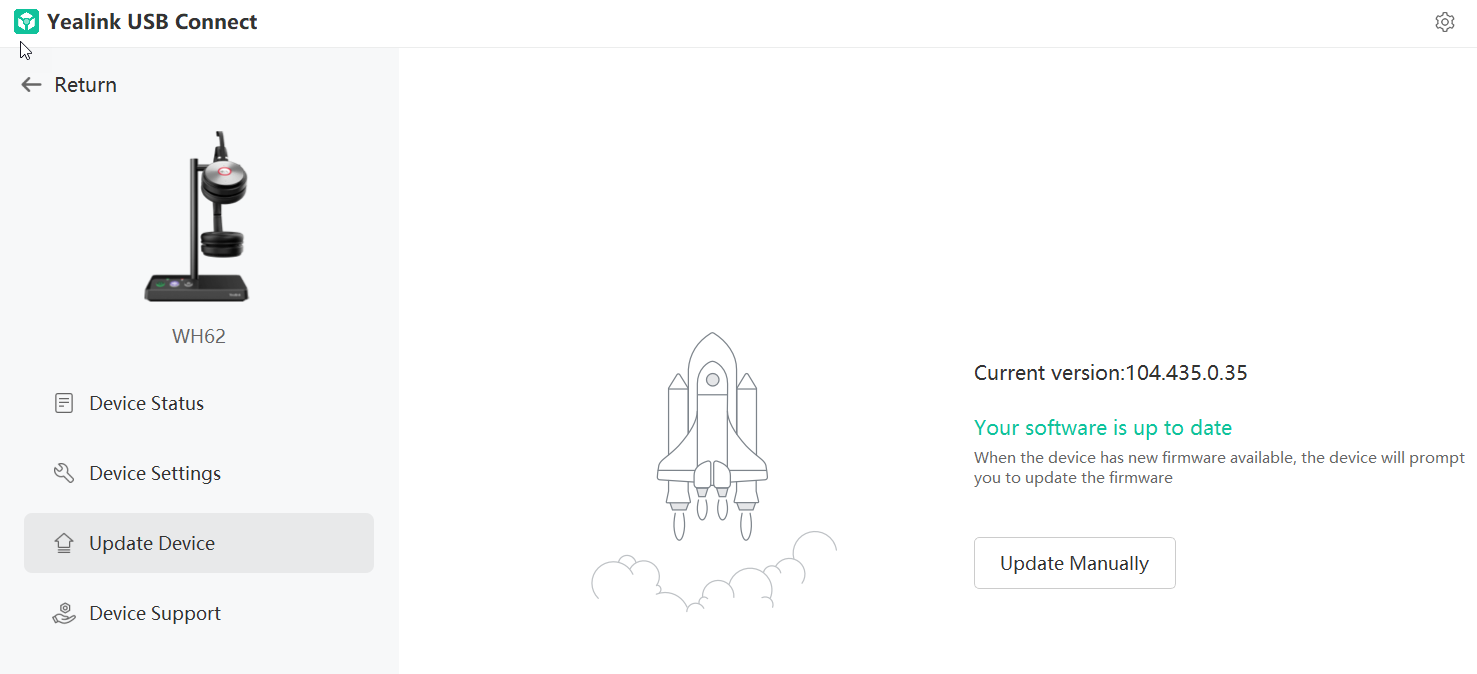
- Open Yealink USB Connect: Launch the Yealink USB Connect software.
- Check for Updates:
- In the software, select your headset model.
- Click on "Update Device" to check for available firmware updates.
Troubleshooting Tips
- Ensure Compatibility: Make sure the firmware version is compatible with your specific headset model.
- Stable Connection: Avoid disconnecting the headset or turning off the computer during the update process to prevent any issues.
- Regular Updates: Check for firmware updates regularly to ensure your headset is always running optimally.
Update the Firmware:- If an update is available, follow the on-screen prompts to download and install the firmware.
- Wait for the update process to complete, which may take a few minutes.
 If you need assistance please contact Summit Internet support on 1300 049 749 or support@summitinternet.com.au